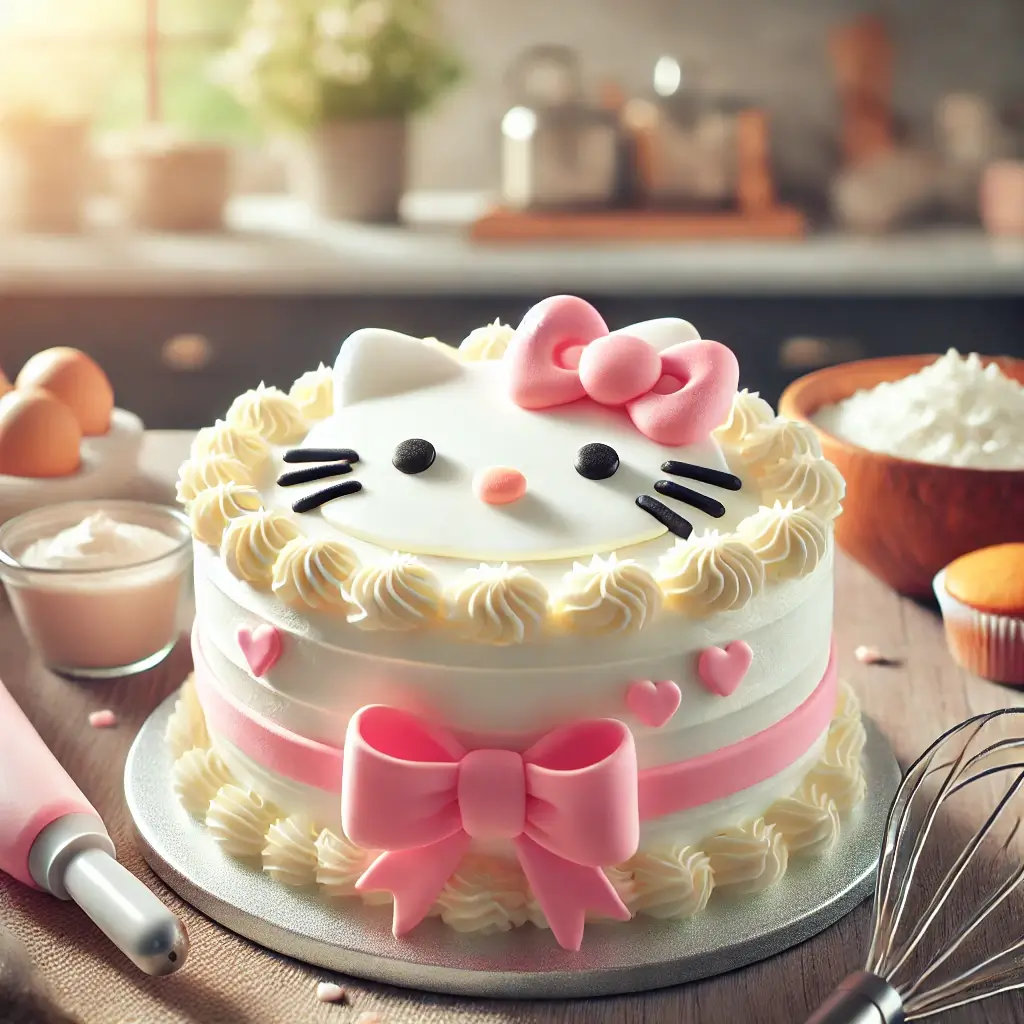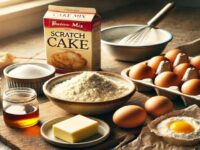
Ingredients1 cup (226g) unsalted butter, softened1 cup (200g) granulated sugar1 cup (220g) brown sugar3 large eggs1 tsp vanilla extract3 ½ cups (420g) all purpose flour2 tsp baking powder1 tsp baking soda1 tsp salt2 cups (500ml) buttermilkInstructionsPreheat the oven to 350°F (175°C).Grease and flour three 8-inch round cake pans.In a large bowl, cream together the butter and sugars until light and fluffy.Add in the eggs one at a time, mixing well after each addition. Stir in the vanilla extract.In another bowl, sift together the flour, baking powder, baking soda, and salt. Gradually add the dry ingredients to the wet mixture, alternating with the buttermilk, until just combined.Pour the batter evenly into the prepared cake pans and bake for 25-30 minutes, or until a toothpick inserted in the center comes out clean.Let the cakes cool before removing them from the pans. Once cooled, stack the cakes and frost with vanilla buttercream. Decorate with edible markers or fondant to create the iconic Hello Kitty face. Having both the basics and specialty items in stock will set the stage for successful baking.
Essential Baking Ingredients List
To bake the cake, you will require the below mentioned fundamental ingredients:
- All-purpose flour
- Granulated sugar
- Baking powder
- Unsalted butter
- Eggs
- Whole milk
- Vanilla extract
- A pinch of salt
These ingredients are the foundation of most classic cake recipes. Quantities can vary based off size of cake and also to tastes.
Specialty Items for Decoration
Aside from the baking basics, the decorating process needs special items to make Hello Kitty come to life:
- Fondant (white, pink, and black)
- Food coloring (gel-based preferred for vibrant colors)
- Edible markers for fine details
- Round and bow-shaped cookie cutters
- Modeling tools (small rolling pin, sculpting tools)
- Small edible beads or pearls for added texture
Potential Substitutions and Considerations
If you have dietary restrictions or preferences, a few substitutions are optional:
- Substitute gluten-free flour 1:1 for all-purpose flour
- Substitute dairy milk with almond or oat milk
- Replace butter with a vegan-friendly margarine
Keep in mind that texture and flavor can vary some with these swaps.] When trying new ingredients, it’s best to experiment in small batches.
Preparing the Perfect Cake Base
A perfect cake base paves the way to a delicious eating experience, as well as an eye-catching presentation. Careful attention to each step guarantees great texture and flavor.
Mixing the Batter Correctly
To start, you will want to preheat the oven to 350°F (175°C). Begin mixing:
- Why we love it: Beat the butter and granulated sugar together in a large bowl until fluffy and light.
- Beat in eggs one at a time and fully incorporate after each addition.
- Whisk together flour, baking powder and salt. Add this mixture to the wet ingredients, in thirds, alternating with the milk.
- Stir in vanilla extract.
But make sure everything is well incorporated so that there are no lumps and even baking occurs.
Baking and Cooling Techniques
Spoon into a prepared baking pan — ideally one that’s round for easier shaping. Bake for 25-30 minutes, or until a toothpick inserted in the middle comes out clean.
When it’s finished baking, let the cake cool in the pan for about 10 minutes and then turn it out onto a wire rack. It’s important to cool the cake completely so it holds shape when you decorate it.
Achieving the Right Texture and Flavor
To ensure your cake has the perfect moistness:
Do not overmix the batter for a light, fluffy texture.
– Use fresh ingredients — especially baking powder — to ensure rise and fluffiness.
A smear of sour cream or yogurt can add moisture and tenderness.
Crafting the Hello Kitty Design
Inspiration is the Hello Kitty design; it is literally what defines this cake! This is also where the artistic merges with the skilled aspect of baking.
Shaping and Carving the Cake
After the cake has fully cooled:
- Using a serrated knife, carve the cake to resemble Hello Kitty’s head, a rounded top and wider at the bottom, adding ears on both sides.
- Cut out small triangles for the ears separately, if needed, then attach them with a little frosting used as glue.
It is very important to work carefully when you are carving the cake to prevent any breaks.
Making and Applying Fondant
Knead the fondant until it’s flexible. On a clean surface dusted with cornstarch, roll out a large sheet of white fondant.
- Drape the fondant over the cake carefully, using your hands to smooth it so you don’t get air bubbles.
- Using a sharp knife, trim away excess fondant from the base.
Ensure the surface is smooth to avoid imperfections.
Using Food Colors and Edible Markers
Add the facial features and distinctive characteristics:
- For the eyes and whiskers, roll small pieces of black fondant; for the nose, yellow; attach them in place.
- Use edible markers to color the rest of the pieces you cut into the same shape.
- Use a shaped bow cutter, or shape the pink fondant you have, and place it on one ear.
Using gel colors will actually give brighter and more accurate hues, critical to this signature look that defines Hello Kitty.
Assembling and Decorating Techniques
Assembly and decoration bring it all together for a neat finish and a gorgeous cake.
Layering and Filling with Cream
A step that is optional, but delicious, is to slice the cake horizontally and put in a filling:
- Cut the cake into 2 layers with a serrated knife.
- Fill with buttercream or whatever you like (jam, chocolate ganache, etc.).
- Reassemble carefully to maintain overall structure.
Adding Final Touches and Details
Fine details elevate the cake:
- Add small edible beads around the base
- Outline features with edible markers for precision
- Ensure symmetry and consistency for a neat appearance
Tips for Preserving and Presenting the Cake
Store the finished cake at cool room temperature or, if necessary, in the refrigerator. If you are refrigerating the cake, then cover it in a box, this will hold moisture in the box and preventing your fondant from drying out.
To present:
- Use a clean, attractive cake stand.
- Consider a decorative box if transporting.
A beautiful Hello Kitty cake, made with love and attention to detail, shows creativity and delights the eyes and taste buds.


